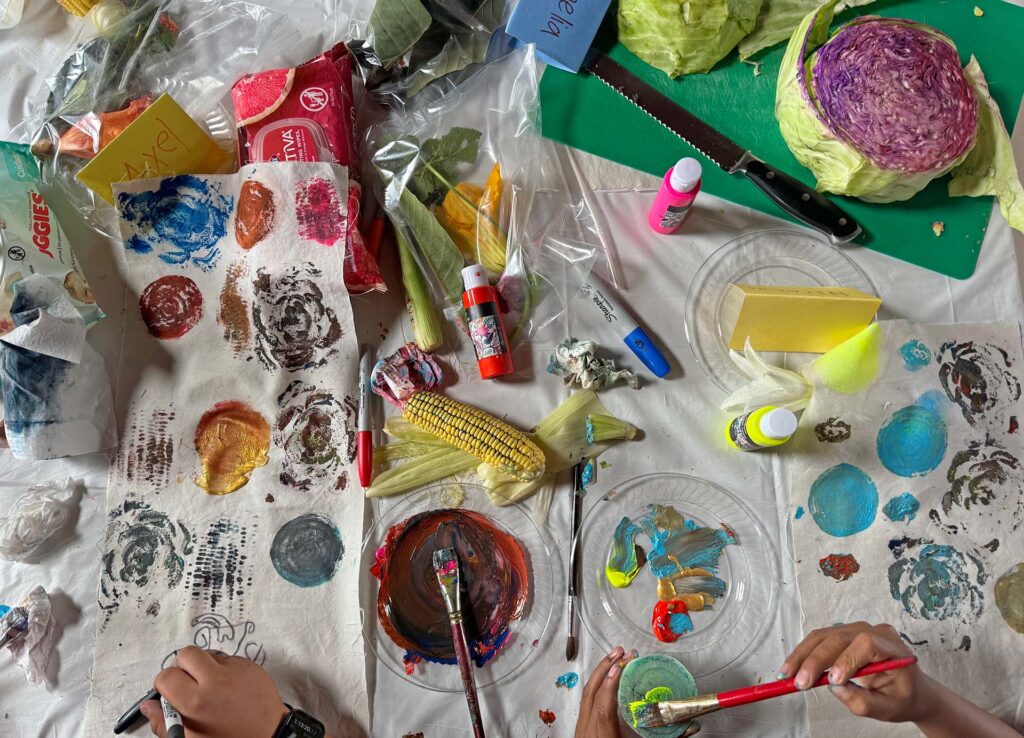
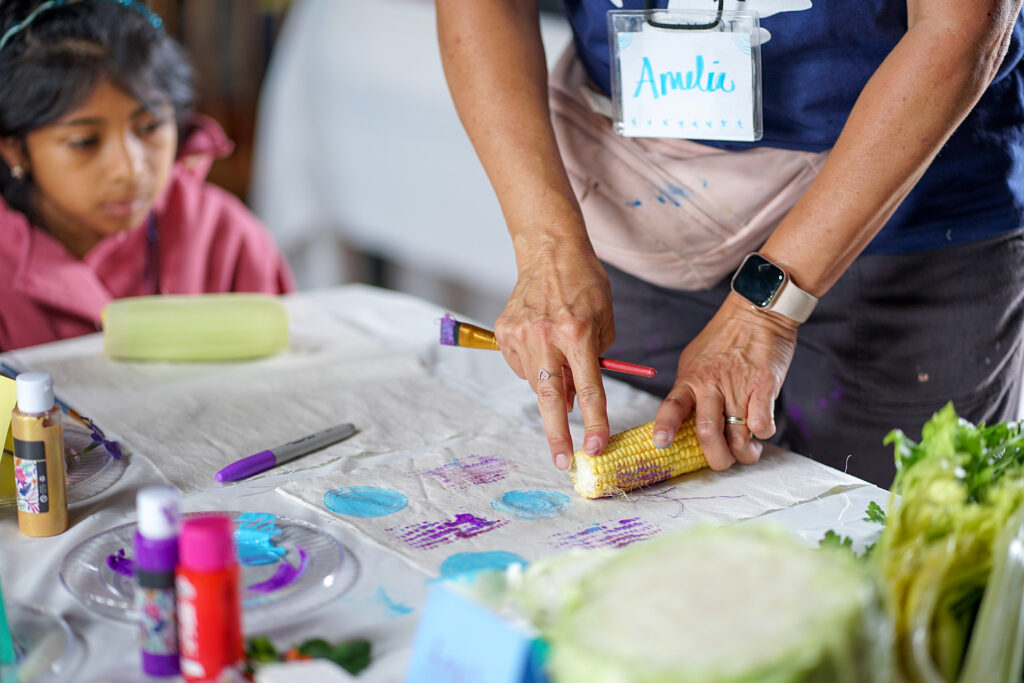
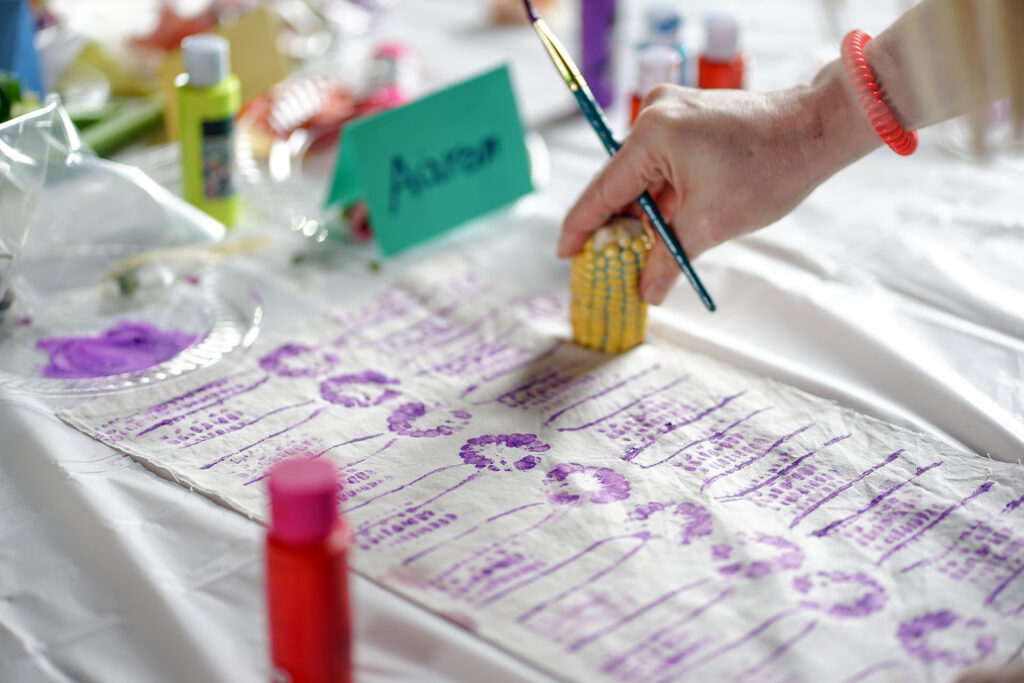
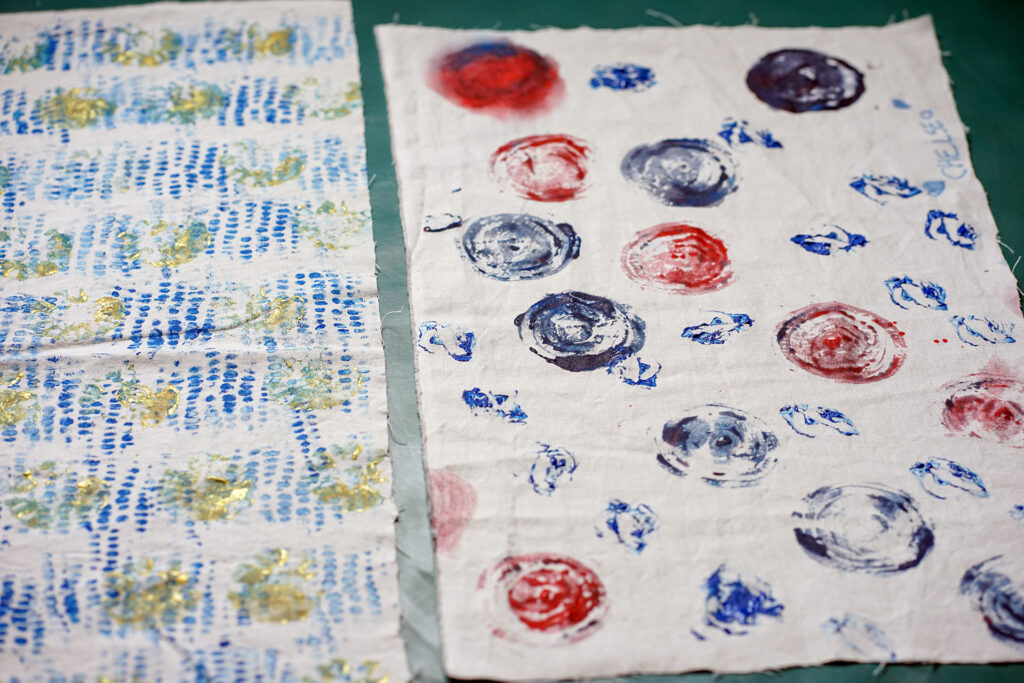
At Athentikos I AM ART, we’re always looking for creative ways to connect with the natural world and express our artistic vision. One of the simplest and most rewarding techniques we love is using plants and vegetables to stamp organic patterns onto fabric. This process allows you to transform everyday items into unique, nature-inspired designs that are perfect for various art projects. Whether you want to create something functional or simply explore a new creative technique, fabric stamping with natural materials offers endless possibilities. Watch the video below for a quick overview.
The Creative Process: Stamping Fabric with Plants and Vegetables
Creating organic patterns on fabric using plants and vegetables is a fun and accessible process that anyone can try. Here’s how to get started:
Step 1: Gather Your Materials

To begin, you’ll need the following materials:
- Fabric: Choose natural fabrics like cotton, linen, or canvas for the best results. White or light-colored fabrics will allow your patterns to stand out.
- Vegetables and Plants: Common vegetables like potatoes, carrots, celery, and bell peppers work well for stamping. You can also experiment with leaves, flowers, or herbs for more intricate patterns.
- Fabric Paint or Natural Dyes: Use fabric paint for bold, long-lasting designs, or experiment with homemade natural dyes for a more subtle, earthy look.
- Cutting Tools: A knife for cutting vegetables into stamps, and scissors for trimming plants and leaves.
- Brushes or Sponges: To apply paint or dye to your stamps.
- Scrap Paper or Cardboard: To protect your work surface.
Step 2: Prepare Your Stamps

- Vegetable Stamps: Start by cutting your vegetables in half or into slices. Potatoes, for example, can be sliced in half and carved into simple shapes like circles, stars, or hearts using a knife. Celery stalks can be cut to create flower-like patterns, while the base of a bell pepper can produce a natural floral design.
- Plant Stamps: For plants and leaves, simply trim them to your desired size. Leaves with strong veins or distinct shapes work best because they leave a clear imprint.
Step 3: Apply the Paint or Dye

- Using Fabric Paint: Dip a brush or sponge into your fabric paint and apply a thin, even layer to the surface of your stamp. Be careful not to use too much paint, as this can cause smudging.
- Using Natural Dyes: If you’re using natural dyes, prepare your dye by simmering plant materials (like onion skins, berries, or spinach) in water. Strain the liquid and let it cool. Then, dip your stamps into the dye, or use a brush to apply the dye to the stamp’s surface.
Step 4: Stamp Your Fabric

- Practice First: Before stamping directly onto your fabric, test your stamps on a piece of scrap paper to get a feel for how much pressure to use and how the pattern looks.
- Stamping Fabric: Once you’re ready, press your stamp firmly onto the fabric, holding it in place for a few seconds to ensure the paint or dye transfers evenly. Lift the stamp straight off to reveal your pattern.
- Repeat and Experiment: Continue stamping to create a repeating pattern, or experiment with different arrangements and overlapping designs. Mix and match different stamps to create a unique, layered look.
Step 5: Set the Paint or Dye
- Heat Setting Fabric Paint: Once your fabric is dry, heat set the paint by ironing it on the reverse side or placing it in the dryer for a short cycle. This will help the paint adhere to the fabric and make it more durable.
- Setting Natural Dyes: If you’ve used natural dyes, you may need to fix the color by soaking the fabric in a vinegar or saltwater solution, and then rinse it thoroughly.
Inexpensive and Practical Projects Using Stamped Fabric
Now that you’ve created your stamped fabric, here are four practical projects to put your beautiful patterns to use:
1. Custom Tote Bags
- Materials: Blank canvas tote bags, stamped fabric
- Process: Use your stamped fabric to decorate blank tote bags. You can sew the fabric directly onto the bag as a patch, or use fabric glue for a no-sew option. These custom tote bags are perfect for groceries, books, or thoughtful handmade gifts.
2. Decorative Pillow Covers
- Materials: Plain pillow covers, stamped fabric
- Process: Transform plain pillow covers into statement pieces with your stamped designs. You can stamp directly onto the pillow cover or create a fabric panel to sew onto the cover. These decorative pillows can add a personal touch to any room.
3. Handcrafted Tea Towels
- Materials: Plain tea towels, stamped fabric
- Process: Stamp a set of plain tea towels to create a beautiful and functional addition to your kitchen. You can experiment with different plant and vegetable stamps to create a cohesive set or mix-and-match patterns for a more eclectic look.
4. Unique Wall Art
- Materials: Stamped fabric, embroidery hoops or frames
- Process: Frame sections of your stamped fabric in embroidery hoops or picture frames to create unique wall art. These pieces can be arranged on a gallery wall or displayed individually to add a touch of nature-inspired creativity to your space.
Conclusion: Bringing Nature into Your Creative Process
Using plants and vegetables to stamp organic patterns onto fabric is a simple yet impactful way to bring the beauty of nature into your art. This technique allows you to experiment with textures, colors, and designs in a way that is both sustainable and deeply personal. Whether you’re creating functional items like tote bags and tea towels or crafting unique art pieces, stamped fabric projects offer endless opportunities for creative expression.
At Athentikos I AM ART, we believe in the power of creativity to connect us with the world around us. By using natural materials in your art, you’re embracing eco-friendly practices and cultivating a deeper appreciation for the beauty and diversity of nature.
So gather your materials, explore your local surroundings, and let your creativity bloom. Be sure to tag @Athentikos on Instagram. We can’t wait to see the unique and beautiful patterns you create!
