How to Use Gel Printing to Make Custom T-shirts for I AM ART Participants
At Athentikos I AM ART, we believe in the transformative power of art to unite people, spark creativity, and foster a sense of community. One of the most memorable ways to celebrate this connection is by creating custom T-shirts for participants using the accessible and fun technique of gel printing. These event-themed shirts not only serve as wearable art but also as a tangible reminder of the shared experience, instilling a sense of belonging and pride among those who wear them.
In this blog, we’ll guide you through the process of gel printing custom T-shirts and explore how these shirts can strengthen the bonds within your group, making your I AM ART experience even more impactful.
What is Gel Printing?
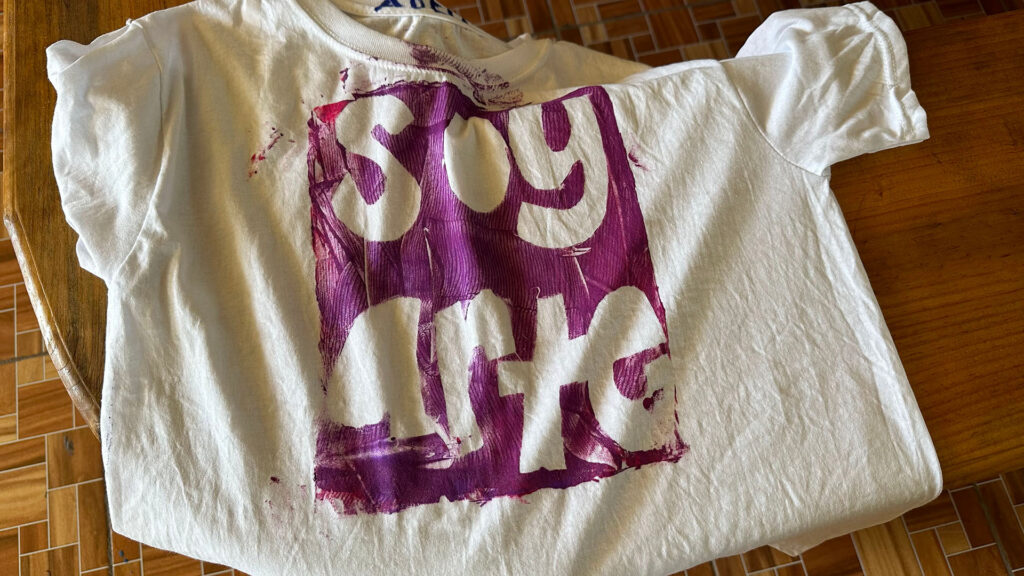
Gel printing, also known as gel plate printing, is a mono-printing technique where designs are created on a gel-like surface and then transferred onto fabric or paper. The gel plate, typically made from gelatin or a synthetic alternative, offers a smooth, flexible surface that captures intricate details from stencils, textures, and other materials. This method allows for endless creativity and experimentation, resulting in unique, one-of-a-kind prints that are perfect for customizing T-shirts.
For more about the basics of gel printing, check out this beginner’s guide to gel printing.
How to Create Custom T-shirts with Gel Printing
Creating custom T-shirts using gel printing is a fun and rewarding process that anyone can participate in. Follow these steps to get started:
Step 1: Gather Your Materials
To begin your gel printing project, you’ll need the following materials:
- Gel Printing Plate: You can purchase a gel plate from an art supply store, or make your own using gelatin and water.
- Fabric Paint: Choose fabric paint designed to be permanent and washable. Acrylic paint can also work if mixed with a fabric medium.
- Brayer (Roller): A brayer spreads the paint evenly across the gel plate.
- Stencils, Textures, and Found Objects: Use items like leaves, lace, bubble wrap, or handmade stencils to create patterns and designs.
- Plain T-shirts: Choose light-colored, 100% cotton T-shirts for the best results. Wash and dry them beforehand to remove any sizing or chemicals.
- Protective Surface: Lay down a plastic tablecloth or use a large piece of cardboard to protect your work surface.
Step 2: Set Up Your Printing Station
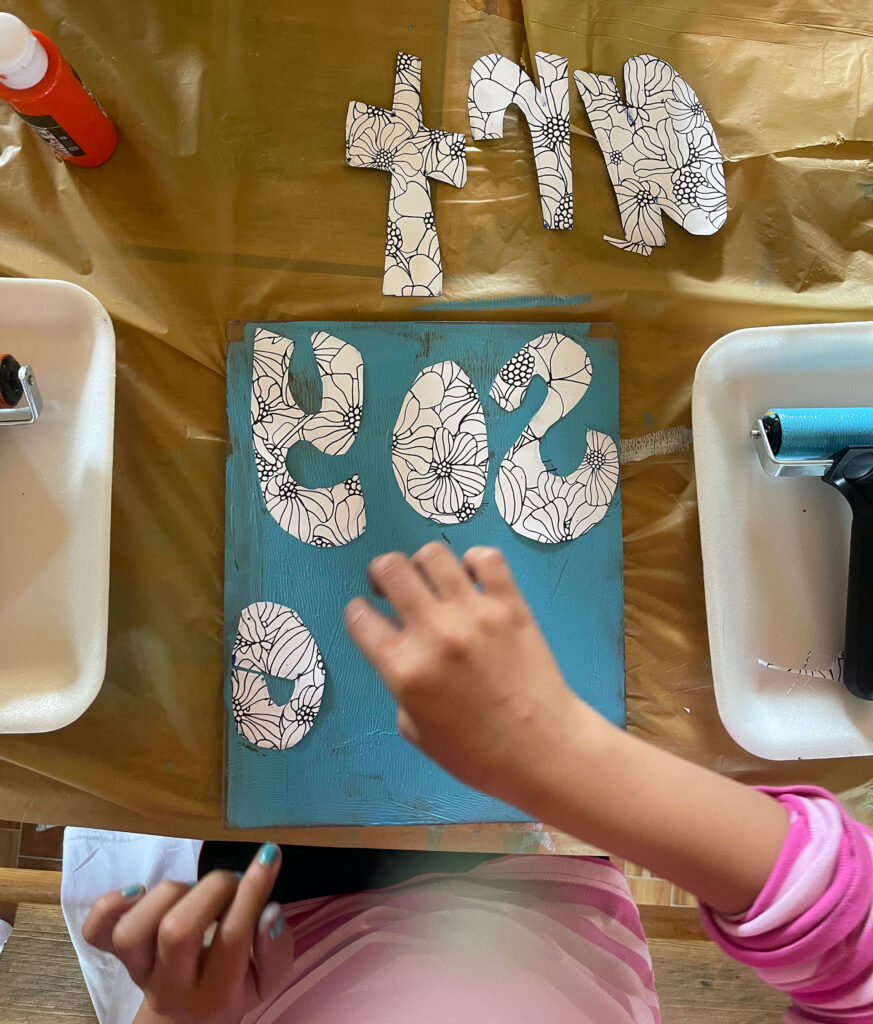
- Prepare Your Gel Plate: Place the gel plate on a flat surface. If you’re making your own, follow a simple recipe for homemade gel plates using gelatin and water, and pour it into a shallow dish or tray to set.
- Organize Your Materials: Arrange your stencils, textures, and paints within easy reach. Being organized will make the process smoother.
Step 3: Create Your Design
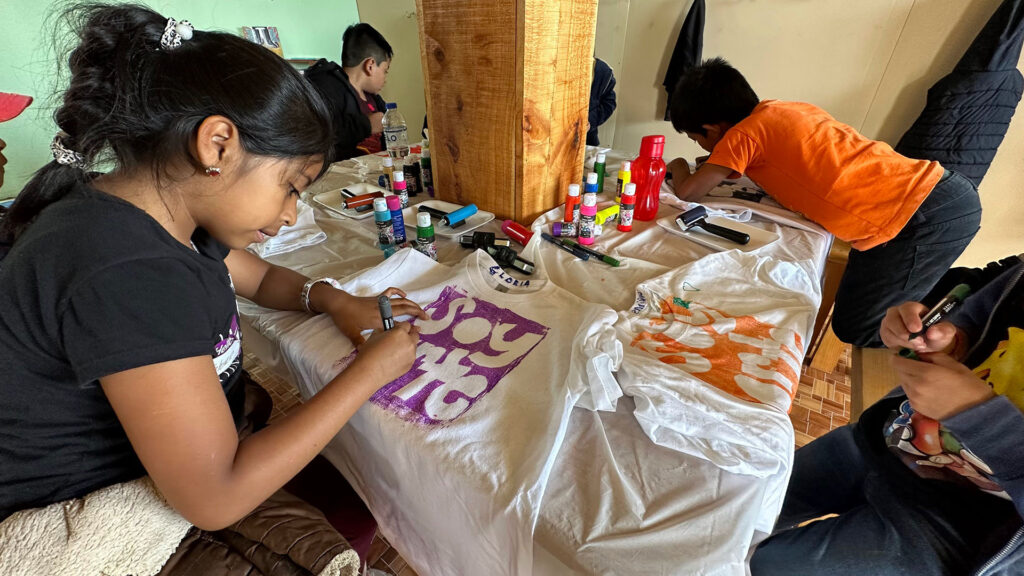
- Apply Paint to the Gel Plate: Squeeze a small amount of fabric paint onto the gel plate. Use the brayer to roll the paint out evenly across the surface.
- Add Textures and Stencils: Press your stencils, textures, or found objects onto the painted gel plate to create patterns. Layer different elements for complex designs or keep it simple with a single pattern.
- Lift Off the Stencils: Carefully remove the stencils or objects, leaving the design on the gel plate.
Step 4: Transfer the Design to the T-shirt
- Place the T-shirt: Lay the T-shirt flat on your protective surface, ensuring there are no wrinkles.
- Press the T-shirt onto the Gel Plate: Carefully place the T-shirt over the gel plate, aligning it so the design is centered. Use your hands to press the fabric onto the plate, making sure the entire design transfers.
- Lift the T-shirt: Slowly peel the T-shirt away from the gel plate to reveal your printed design. Allow the paint to dry completely.
Step 5: Set the Paint
- Heat Set the Paint: Once the paint is dry, heat set it to ensure it’s permanent and washable. Follow the manufacturer’s instructions for your fabric paint—this usually involves ironing the back of the design or placing the T-shirt in the dryer on a high setting for a few minutes.
Step 6: Repeat and Experiment
- Create Multiple Shirts: Repeat the process for each T-shirt, experimenting with different colors, patterns, and stencils. Each shirt will be unique, reflecting the creativity of its maker.
- Encourage Personalization: Allow participants to add unique touches, such as layering additional prints or adding hand-drawn elements with fabric markers.
The Impact of Event-Themed Shirts on Community and Belonging
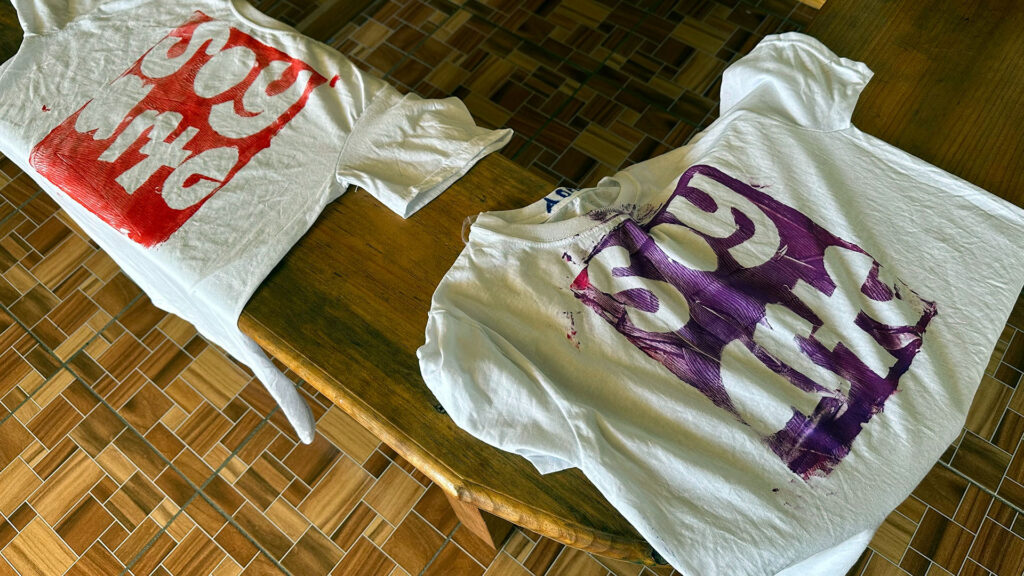
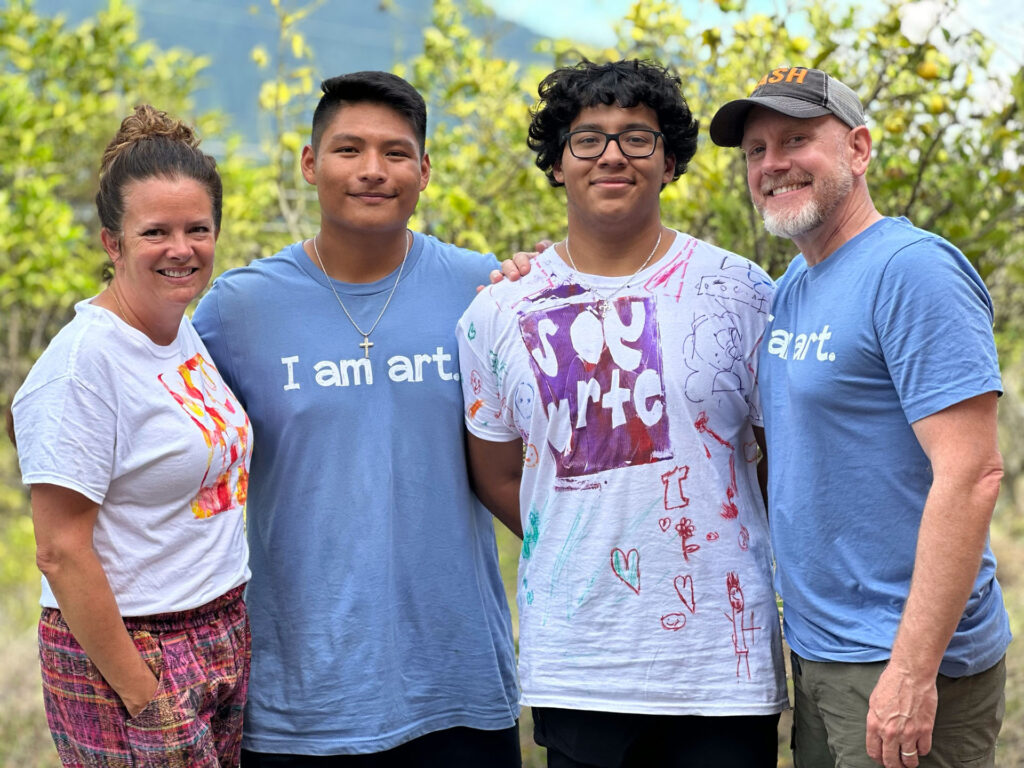
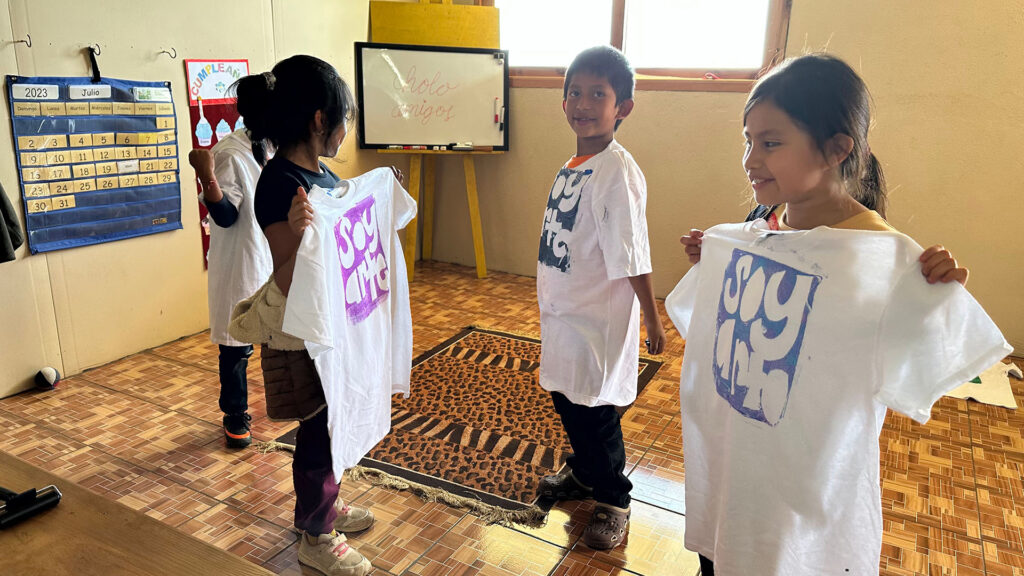
Creating and wearing custom event-themed shirts goes beyond just having a piece of art to take home—it’s a powerful way to foster community and instill a sense of pride among participants. Here’s how these shirts can make a meaningful impact:
1. A Tangible Reminder of Shared Experiences
Wearing a custom T-shirt created during an I AM ART event creates a physical reminder of the time spent together, the connections made, and the creative energy shared. Whenever participants wear their shirts, they’ll be reminded of the positive experience and the bonds formed during the event.
2. A Sense of Belonging
When everyone in a group wears similar shirts, it creates a visual representation of unity and belonging. It’s a simple yet effective way to make participants feel like they are part of something special—a collective creative journey that they’ve contributed to.
3. A Source of Pride
Creating your T-shirt through the gel printing process is an accomplishment participants can be proud of. The shirts are not just wearable items; they’re pieces of art that each person has had a hand in making. This sense of ownership and pride can boost confidence and reinforce the value of each individual’s contribution to the group. We’d love to see what you create! Please share photos on Instagram and tag @athentikos.
4. Building a Creative Legacy
Custom T-shirts from an I AM ART event become part of a creative legacy that participants carry with them. They are more than souvenirs—they are symbols of the creativity, collaboration, and community that define the I AM ART experience. As participants wear these shirts in their everyday lives, they also become ambassadors of the values and spirit of I AM ART, spreading the message of creativity and connection to the wider world.
Conclusion: Wearable Art as a Tool for Connection
At Athentikos I AM ART, we understand that art has the power to connect us, build community, and remind us of the beauty of shared experiences. By creating custom T-shirts through gel printing, you’re not just making art—you’re making memories, fostering belonging, and celebrating the creativity that brings us all together.
So why not try it? Gather your materials, set up your printing station, and start designing your event-themed shirts. Whether you’re leading a group workshop or creating shirts with friends, you’ll find that this project brings joy, connection, and a sense of accomplishment to everyone involved.
Let your creativity flow, and wear your art with pride. Your custom T-shirts will be a lasting symbol of the creativity and community that define the I AM ART experience.
For more inspiration and techniques on gel printing, visit Gelli Arts’ blog to dive deeper into this versatile art form.
